
Sweet and Salty Peanut Butter Mousse Pie
To skip the post and step-by-step instructions and go straight to recipe, click here.Every time I see the title of this recipe, it makes me drool. It has almost every buzz word that could possibly make me want to make a recipe. This truly is my perfect pie.
With probably thousands of peanut butter pie recipes out there on the internet, you’ll wonder what makes this one different. Here’s the scoop - no cream cheese. Don’t get me wrong, I love cream cheese (I’m from Wisconsin, it would be near criminal if I didn’t), but I feel like cream cheese doesn’t necessarily have to be a required ingredient for a peanut butter cream pie, and yet just about every recipe I come across includes it. Sometimes I want a fluffy, creamy peanut butter dessert without the tang of cream cheese, and this one perfectly hits that spot. The filling in this pie is a from-scratch mousse made by creating a peanut butter custard on the stovetop (which makes a great pudding by itself) and folding it into a gelatin-set whipped cream. When you add in the thin layer of rich chocolate, crunchy peanuts, and plenty of sea salt, you can’t lose.

Some Recipe Notes:
Peanut Butter - In this recipe, I recommend using high-quality, unsweetened peanut butter. This will give you a strong, true peanut butter flavor and keep the pie having that “sweet and salty” flavor, rather than tasting too sugary. My favorite kinds are Smuckers Natural and Adams No-Stir creamy peanut butters. Make sure you’re actually checking the ingredients though, because peanut butters that advertise “low sugar” will almost always still have sugar in them, so go for a peanut butter where the main ingredients are only peanuts and salt. If you only have a sweetened peanut butter on hand, you can certainly still use it, your pie will just be a fair bit sweeter.
Soft Mousse - If your mousse still seems too soft after the appropriate setting time, it may be that either your cream wasn’t whipped quite enough, you under-measured your gelatin, or you took your custard off the heat too soon. But, thankfully, there’s still hope! If you find that your pie is too sloppy and not holding up when you go to take the springform off, simply pop it in the freezer - ta-da! Peanut butter ice cream pie! It’s still super delicious this way, and no one will know it wasn’t your initial intention (trust me, I speak from experience).

Step-By-Step Walk-Through
If you’re feeling confident in your cooking skills and want to skip the walk-through, click here.
Step 1:
Make Crust

Using a food processor, mortar and pestle, or rolling pin and plastic bag, grind 12 saltines and 6 full-sized graham crackers into fine crumbs.

Pour into a large mixing bowl. Add 3 tablespoons of granulated sugar and 6 tablespoons of melted butter.

Mix well and press firmly into the base of an ungreased 9-inch springform pan.

Bake at 350 degrees for 10-12 minutes until slightly golden around the edges.
Step 2:
Make Custard
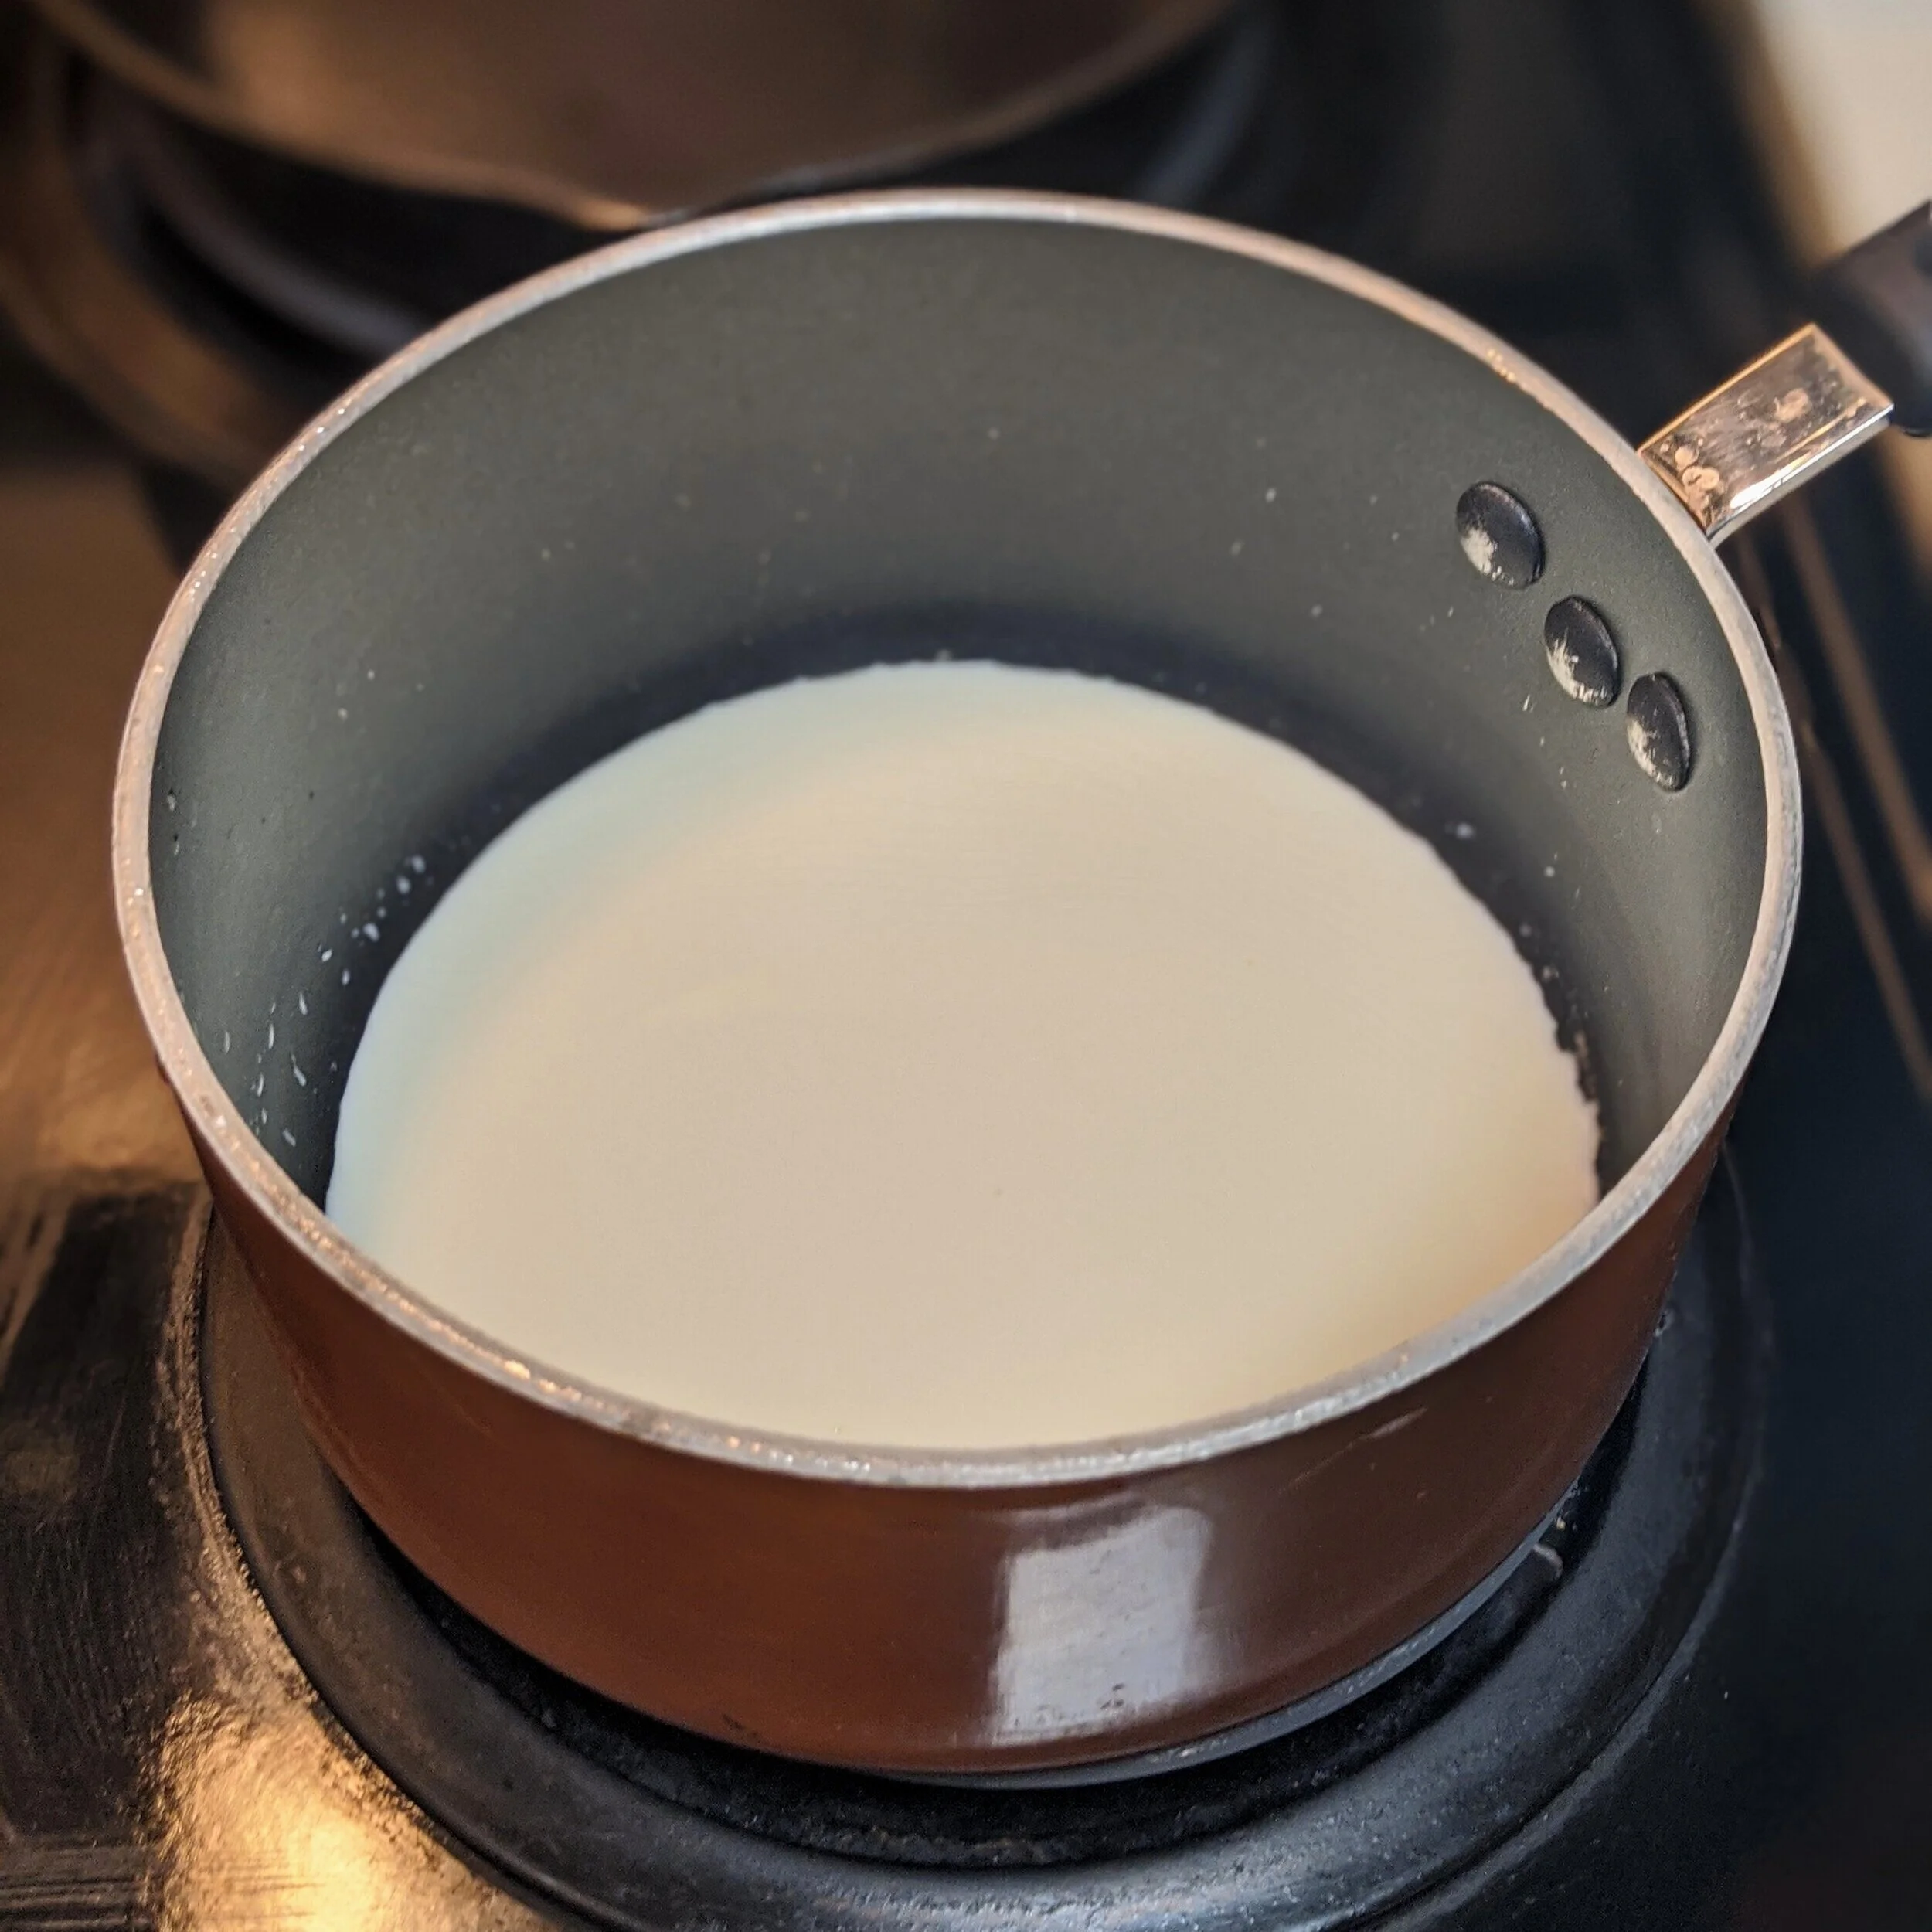
Heat 1 ½ cups of whole milk in a medium pot over medium low heat until warm and slightly steamy, but don’t allow to bubble.

While the milk is heating, in a large bowl whisk together ½ cup granulated sugar, ¼ cup all-purpose flour, 1 teaspoon salt, ¼ cup high-quality, unsweetened peanut butter, and 4 egg yolks into a thick paste.

Gradually pour warm milk into peanut butter mixture, whisking constantly.

Pour mixture back into the pot that the milk was in.

Whisking constantly the whole time, cook over medium heat until very thick and pudding-y (6-8 minutes).

Remove from heat and strain through a fine-mesh strainer into a medium bowl to ensure a silky smooth texture. Push the custard through the mesh with a large spoon or spatula.

Mix in another ¼ cup high-quality, unsweetened peanut butter.

Smooth the top of the custard and press a piece of plastic wrap against the surface of the custard to keep it from forming a skin. Refrigerate until fully cooled.

Step 3:
Make Chocolate Layer
Heat ⅓ cup of heavy cream in a small pot over medium heat until warm and slightly steamy, but not bubbling.

Remove from heat and add ⅔ cup of semi-sweet chocolate chips and 3 tablespoons of high-quality, unsweetened peanut butter.

Whisk until chocolate is fully melted.

Reserve about 2 tablespoons in a small ziploc bag or piping bag to use for garnish later, leaving at room temperature.

Pour remaining chocolate onto cooled crust.

Place in the refrigerator to harden up while you finish the filling.
Step 4:
Whip Cream
In a large mixing bowl, beat together 2 cups of heavy cream, ¼ cup of granulated sugar, and ½ teaspoon salt until stiff peaks form.

Step 5:
Finish Mousse Layer

In a small pan, combine 1 teaspoon powdered gelatin and 2 teaspoons cold water. Let sit 5 minutes.

Then, place the pan over low heat until gelatin has fully melted.

Split your whipped cream evenly into a large bowl and a medium bowl.

Into the whipped cream in the large bowl, beat ½ of the melted gelatin mixture, and place the remaining gelatin mixture back over very low heat to stay melted.

Now, into the large bowl of whipped cream and gelatin, fold in the cooled peanut butter custard until well-incorporated to make the mousse.

Smooth mousse over the fudge layer of the pie and place pie in the freezer to set slightly while you prepare the peanut butter cream.
Step 6:
Finish Peanut Butter Cream Layer
Into the medium bowl of whipped cream, whip 1 tablespoon of high-quality, unsweetened peanut butter and the remaining melted gelatin until fully combined.

Remove pie from the freezer and sprinkle ¼ cup mini semisweet chocolate chips or chopped chocolate over the mousse.

Spread the peanut butter cream over the chocolate chip layer, or put into a large piping bag and pipe on top.

Step 7:
Garnish

Pipe reserved chocolate over top of the pie however you like, and sprinkle on ¼ cup chopped peanuts and a sprinkle of sea salt.
Step 8:
Chill
Chill pie for at least 3 hours or preferably overnight. Before removing outer ring of springform pan, run a knife around the outside edge of the pie to make sure it doesn’t cling to the pan. Remove the ring, cut, and serve!

Sweet and Salty Peanut Butter Mousse Pie
Servings: 8 Time: 6 1/2 hours (2 1/2 active hours, 4 hours chilling)
Difficulty: 🧡🧡🧡🧡🤍
Ingredients
FOR CRUST
12 saltines
6 full-size graham crackers
3 TBS. granulated sugar
6 TBS. salted butter, melted
FOR CUSTARD
1 ½ cups whole milk
½ cup granulated sugar
¼ cup all-purpose flour
1 tsp. salt
1/2 cup high-quality, unsweetened peanut butter, split into two ¼ cups
4 egg yolks
FOR CHOCOLATE
⅓ cup heavy cream
⅔ cup semisweet chocolate chips
3 TBS. high-quality, unsweetened peanut butter
FOR CREAM
2 cups heavy cream
¼ cup granulated sugar
½ tsp. salt
1 tsp. powdered gelatin
2 tsp. cold water
1 TBS. high-quality, unsweetened peanut butter
FOR CHOCOLATE CHIP LAYER
¼ cup mini semisweet chocolate chips or chopped chocolate
FOR GARNISH
¼ cup chopped salted peanuts
Coarse sea salt
Directions
Step 1: Make Crust
Using a food processor, rolling pin and plastic bag, or mortar and pestle, grind the saltines and graham crackers into fine crumbs. Pour into a large bowl. Add melted butter and sugar and mix well. Press into bottom of an ungreased 9-inch springform pan. Bake at 350 degrees until slightly golden.
Step 2: Make Custard
Heat milk in a medium pot over medium heat until warm and slightly steamy, but don’t allow to bubble. While the milk is heating, mix together in a large bowl the sugar, flour, salt, egg yolks, and ¼ cup of the peanut butter. Once the milk is warm, gradually pour it into the peanut butter mixture while constantly whisking. Pour the custard back into the pot that the milk was in and place over medium heat. Whisking constantly, cook until very thick and pudding-y, about 6-8 minutes. Remove from heat and strain through a fine mesh strainer into a medium bowl, using a spoon or spatula to push it through the strainer. Stir in the remaining ¼ cup peanut butter. Press a piece of plastic wrap against the surface of the custard to keep it from forming a skin and refrigerate until fully cooled.
Step 3: Make Chocolate Layer
In a small pot over medium heat, warm the heavy cream until steamy, but not bubbling. Remove from the heat and add chocolate chips and peanut butter. Whisk until all chocolate has fully melted. Remove about 2 tablespoons of the mixture and place in a ziploc or piping bag for garnish later. With the remaining chocolate mixture, smooth it in an even layer over the crust of the pie. Place pie in the refrigerator to set slightly while you work on the next layer.
Step 4: Whip Cream
In a large mixing bowl, beat together the heavy cream, sugar, and salt until stiff peaks form. Set aside.
Step 5: Finish Mousse Layer
In a small pan, mix together powdered gelatin and cold water. Let sit 5 minutes. Then, place pan over low heat until gelatin is fully melted. While gelatin is melting, split your whipped cream evenly into one large bowl and one medium bowl. Into the cream in the large bowl, beat about half of the melted gelatin, placing the pan back over very low heat to keep the remaining gelatin melted. After beating in the gelatin, gently fold the custard you made previously into the large bowl of cream as well. Once fully incorporated, pour the finished mousse into the pie on top of the chocolate layer. Return pie to refrigerator while you finish the next layer.
Step 6: Finish Peanut Butter Cream Layer
Into the cream in the medium bowl, beat the remaining gelatin and 1 tablespoon peanut butter. Remove the pie from the refrigerator and sprinkle the 1/4 cup mini chocolate chips or chopped chocolate on top of the mousse layer. Then, either spread or pipe on the peanut butter cream however you desire.
Step 7: Garnish
Pipe your reserved peanut buttery chocolate over the pie however you like. Sprinkle on chopped peanuts and sea salt as desired.
Step 8: Chill
Chill pie for at least 3 hours or preferably overnight. Before removing outer ring of springform pan, run a knife around the outside edge of the pie to make sure it doesn’t cling to the pan. Remove the ring, cut, and serve!